Development
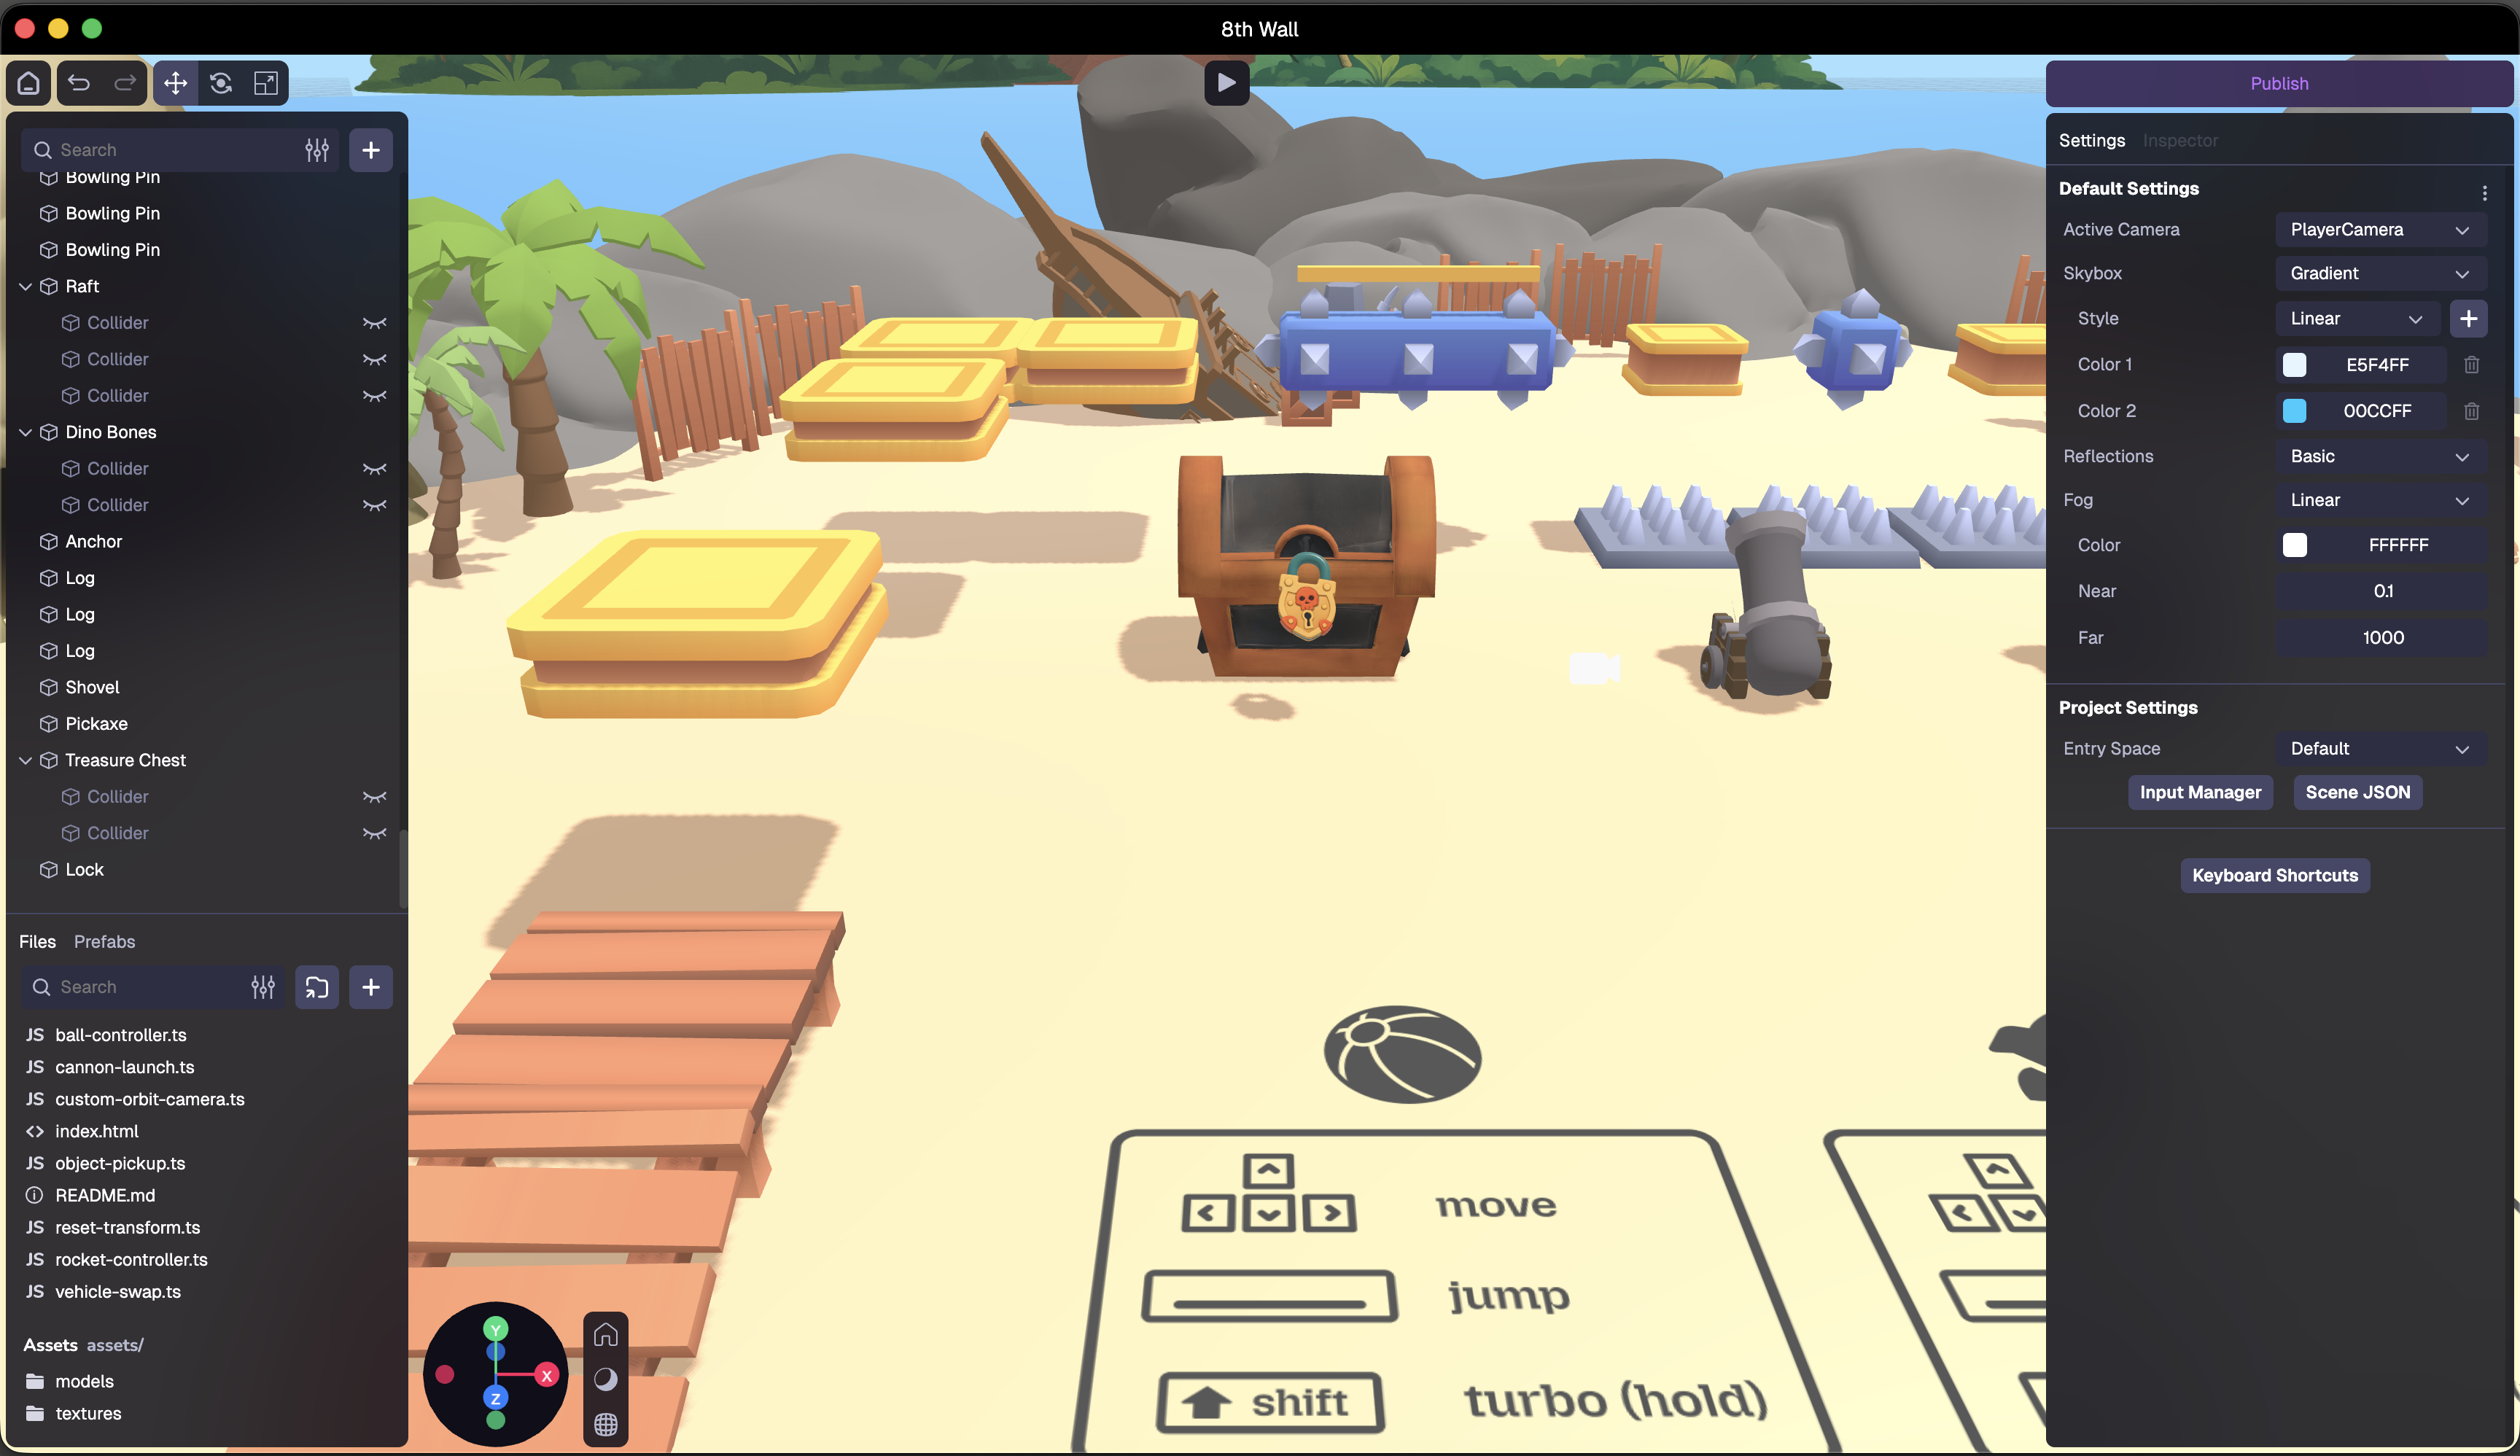
Developing Studio Projects
To develop Studio Projects locally, first download the 8th Wall Desktop App.
If you already have the Desktop App installed, simply launch it and apply the latest update when prompted.
The Desktop App now includes offline mode, a fully local development workflow designed to help Studio developers transition away from the cloud platform before access ends on February 28, 2026.
Enabling offline mode converts the Desktop App into a fully local development tool. The app no longer connects to 8th Wall services, and login or account-based functionality is disabled. You can continue developing Studio projects that were previously opened on that device, or open projects exported from the 8th Wall web environment.
To prioritize core local development, the following cloud-only tools are not available in offline mode:
- Image Target Management
- Asset Lab
- Native App Export
- Pre-recorded videos in the Simulator
Enable Offline Mode
Launch the updated 8th Wall Desktop App.
You will be prompted to switch to Offline Mode. Click Switch to Offline, then click Restart Now to apply the change.
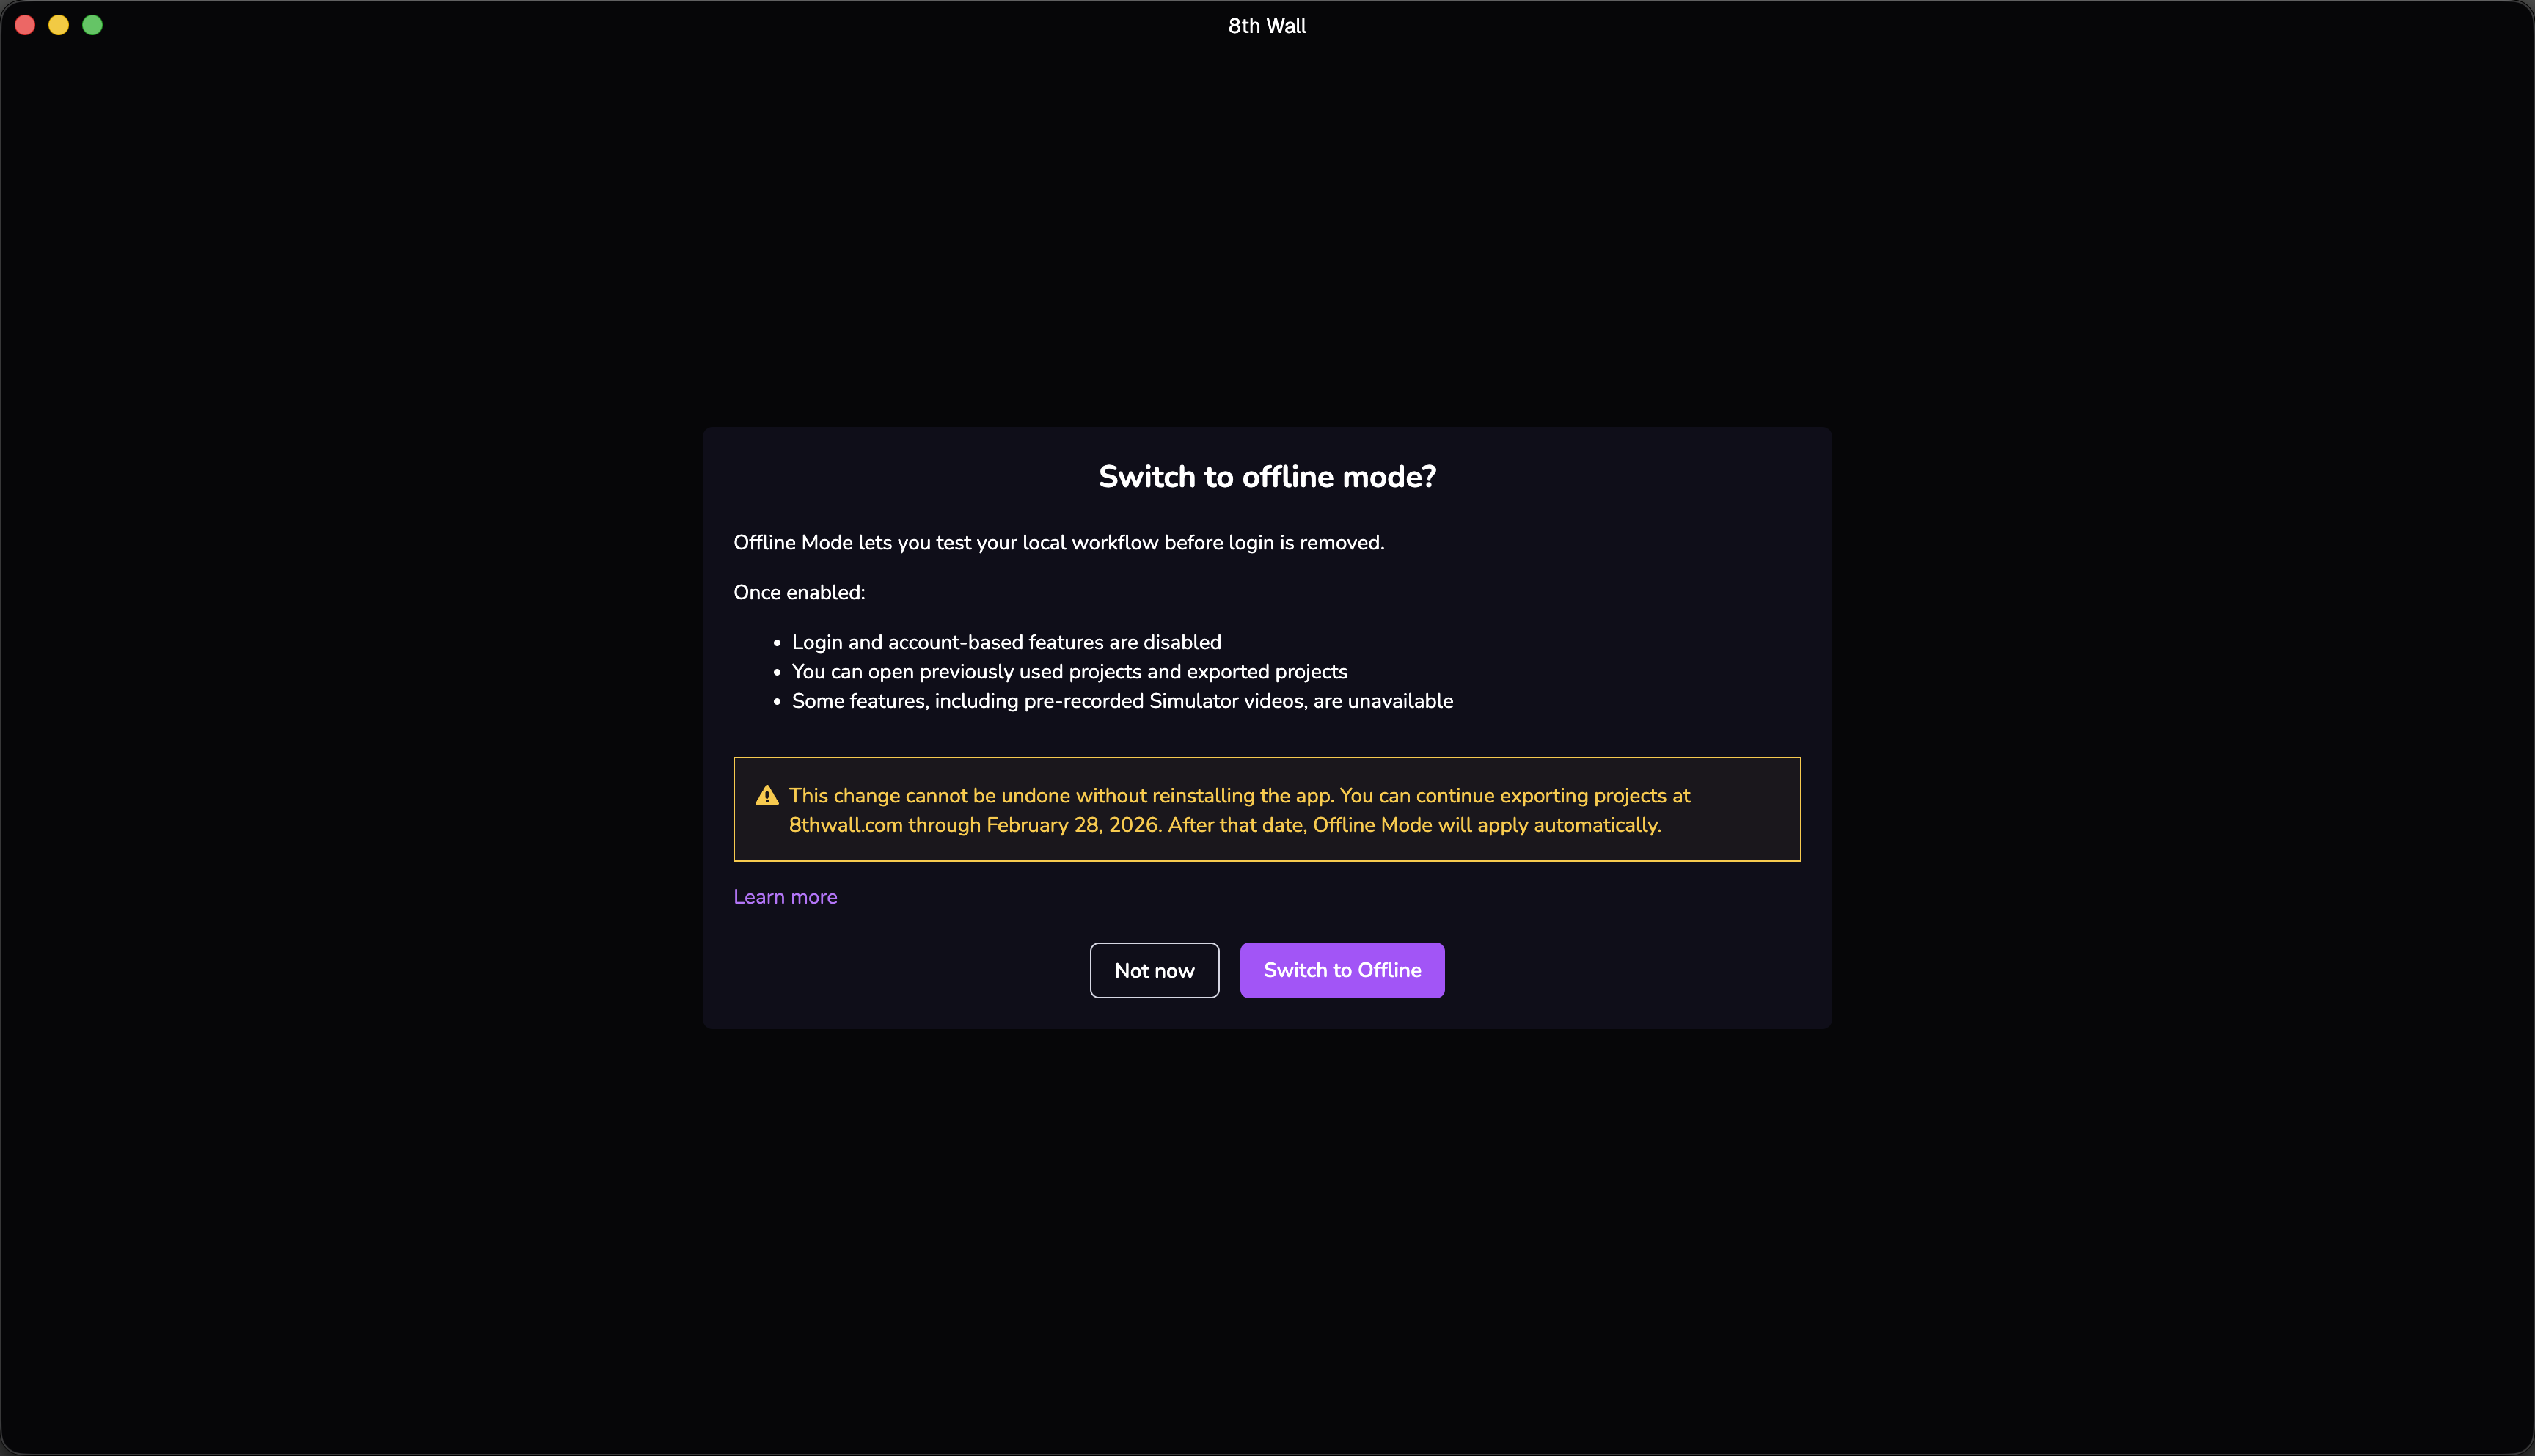
Switching to Offline Mode cannot be undone without uninstalling and reinstalling the Desktop App. If you select Restart Later, you can reopen the prompt at any time from the banner on the homepage.
After restarting, the Desktop App will open in Offline Mode.
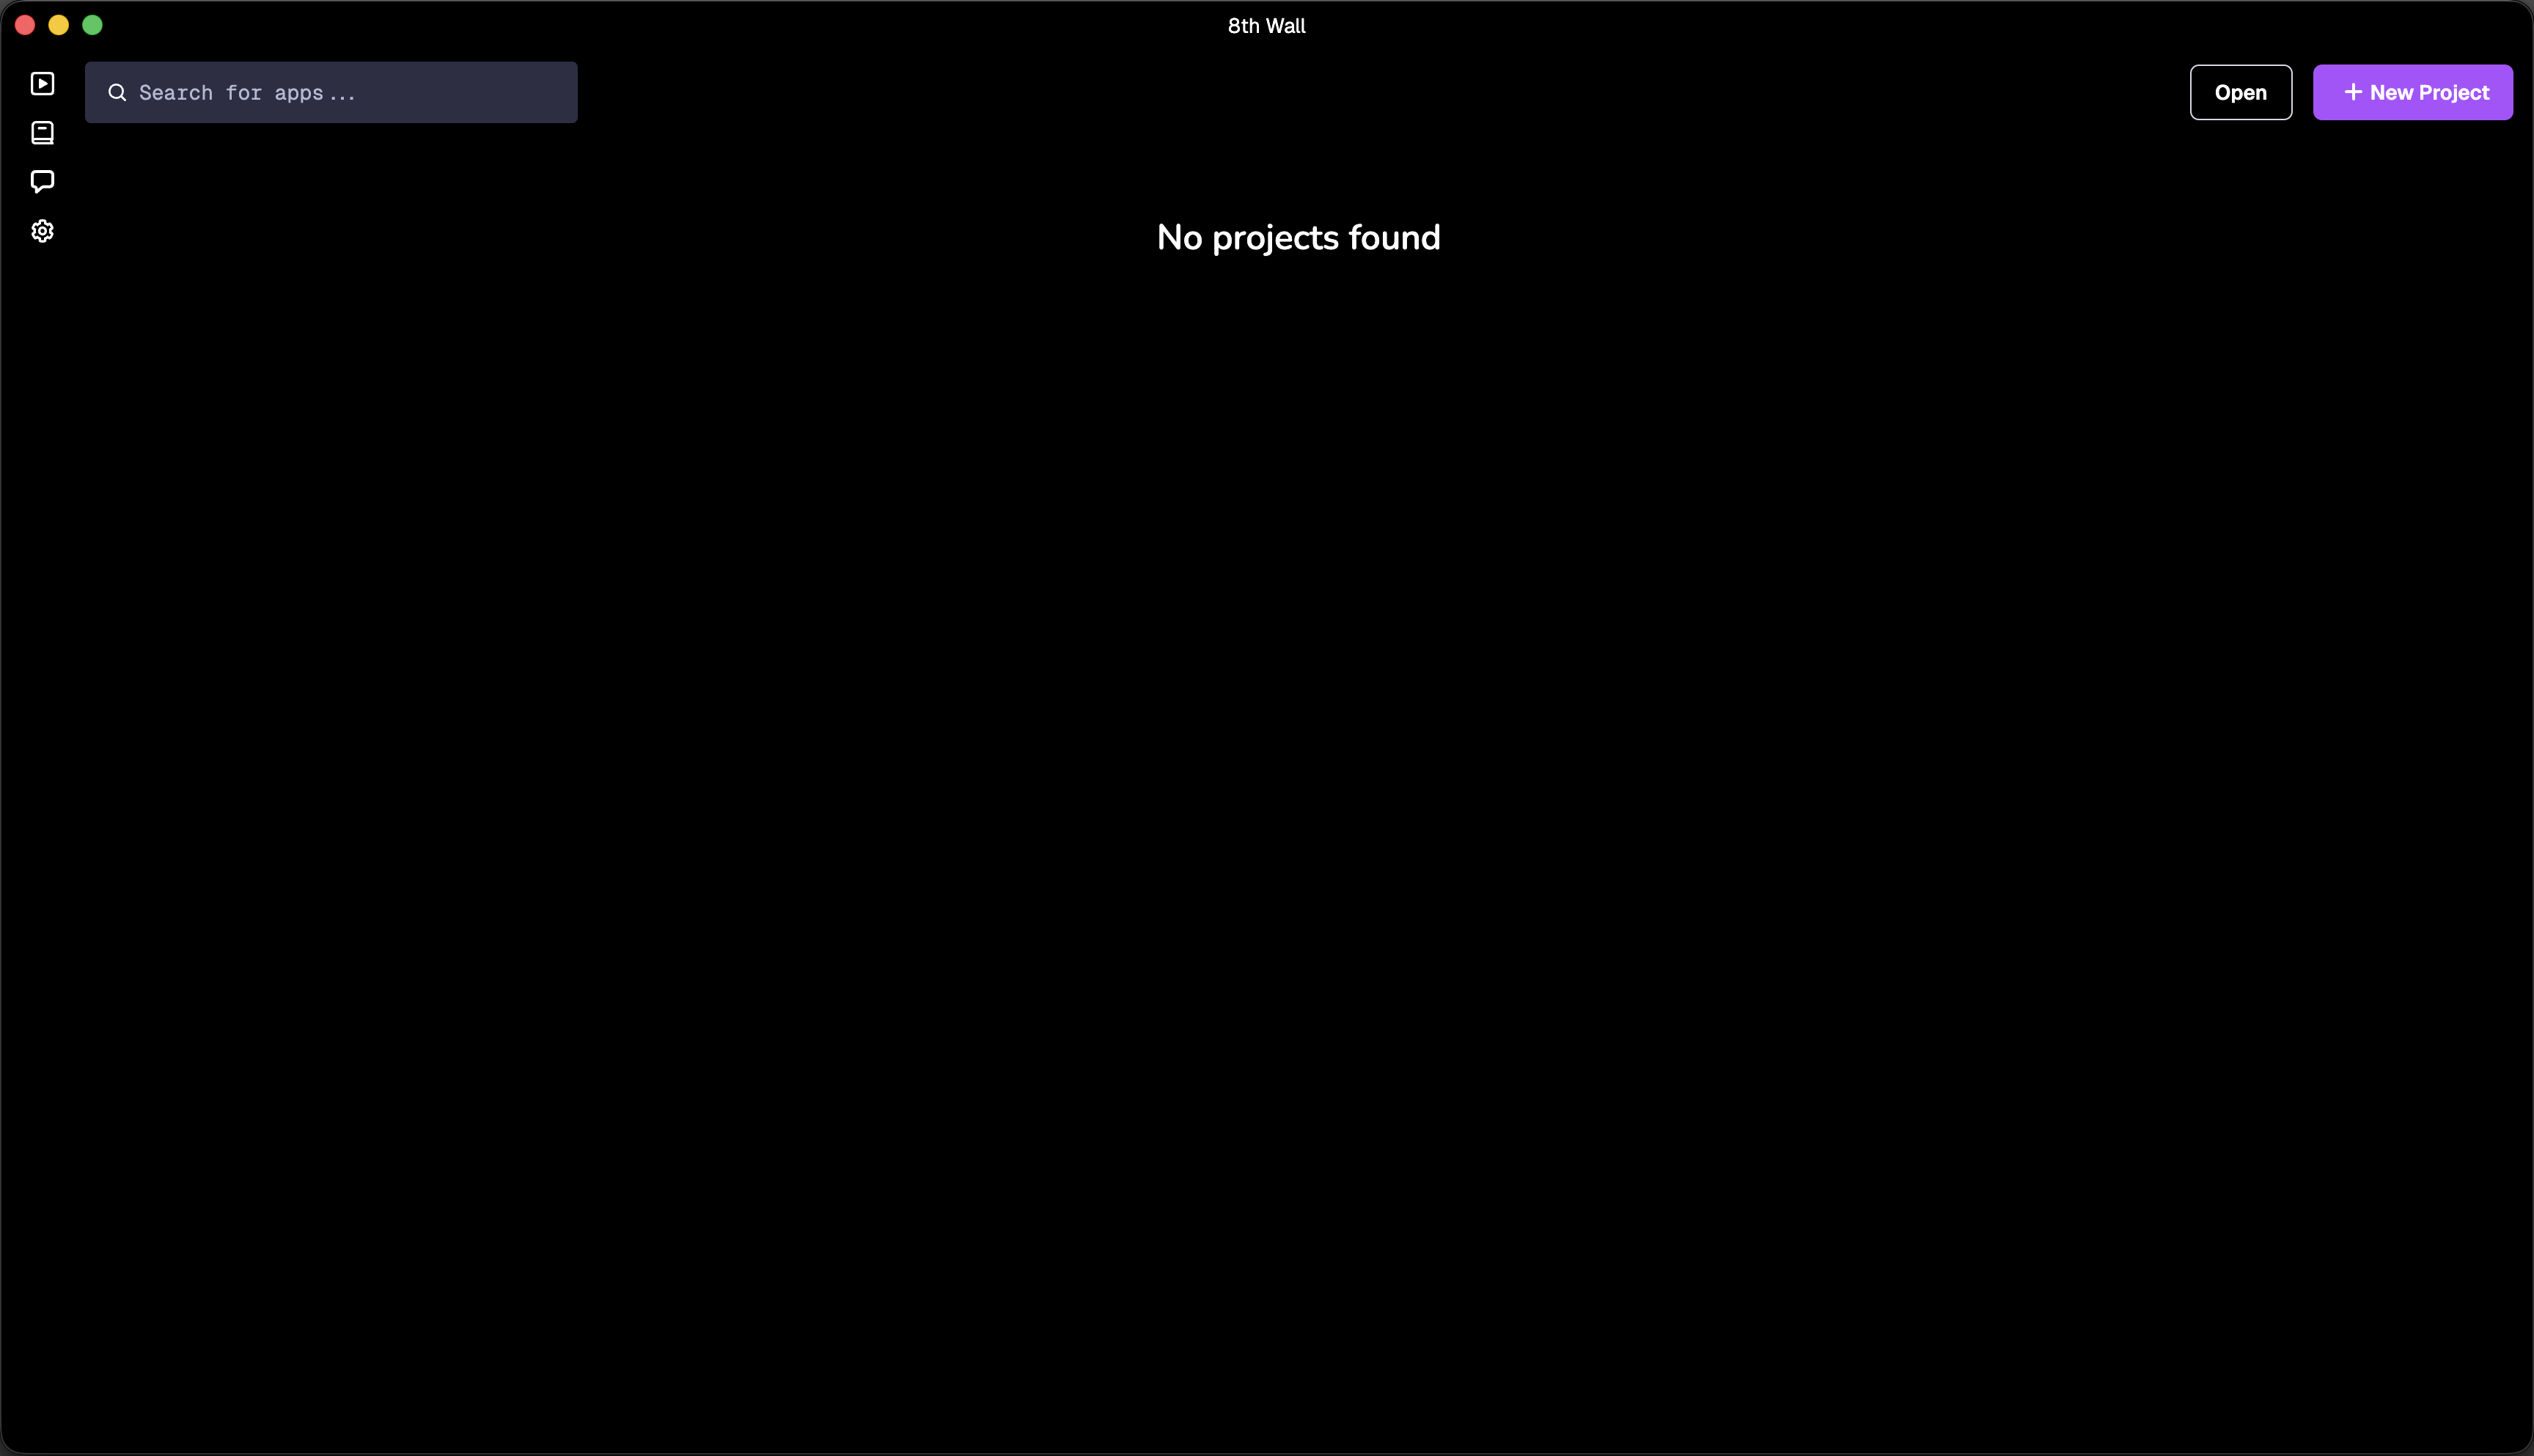
From the home screen, you can create a new Studio project or open an exported Studio project.
Open a Studio Project
If your project was created in the web environment:
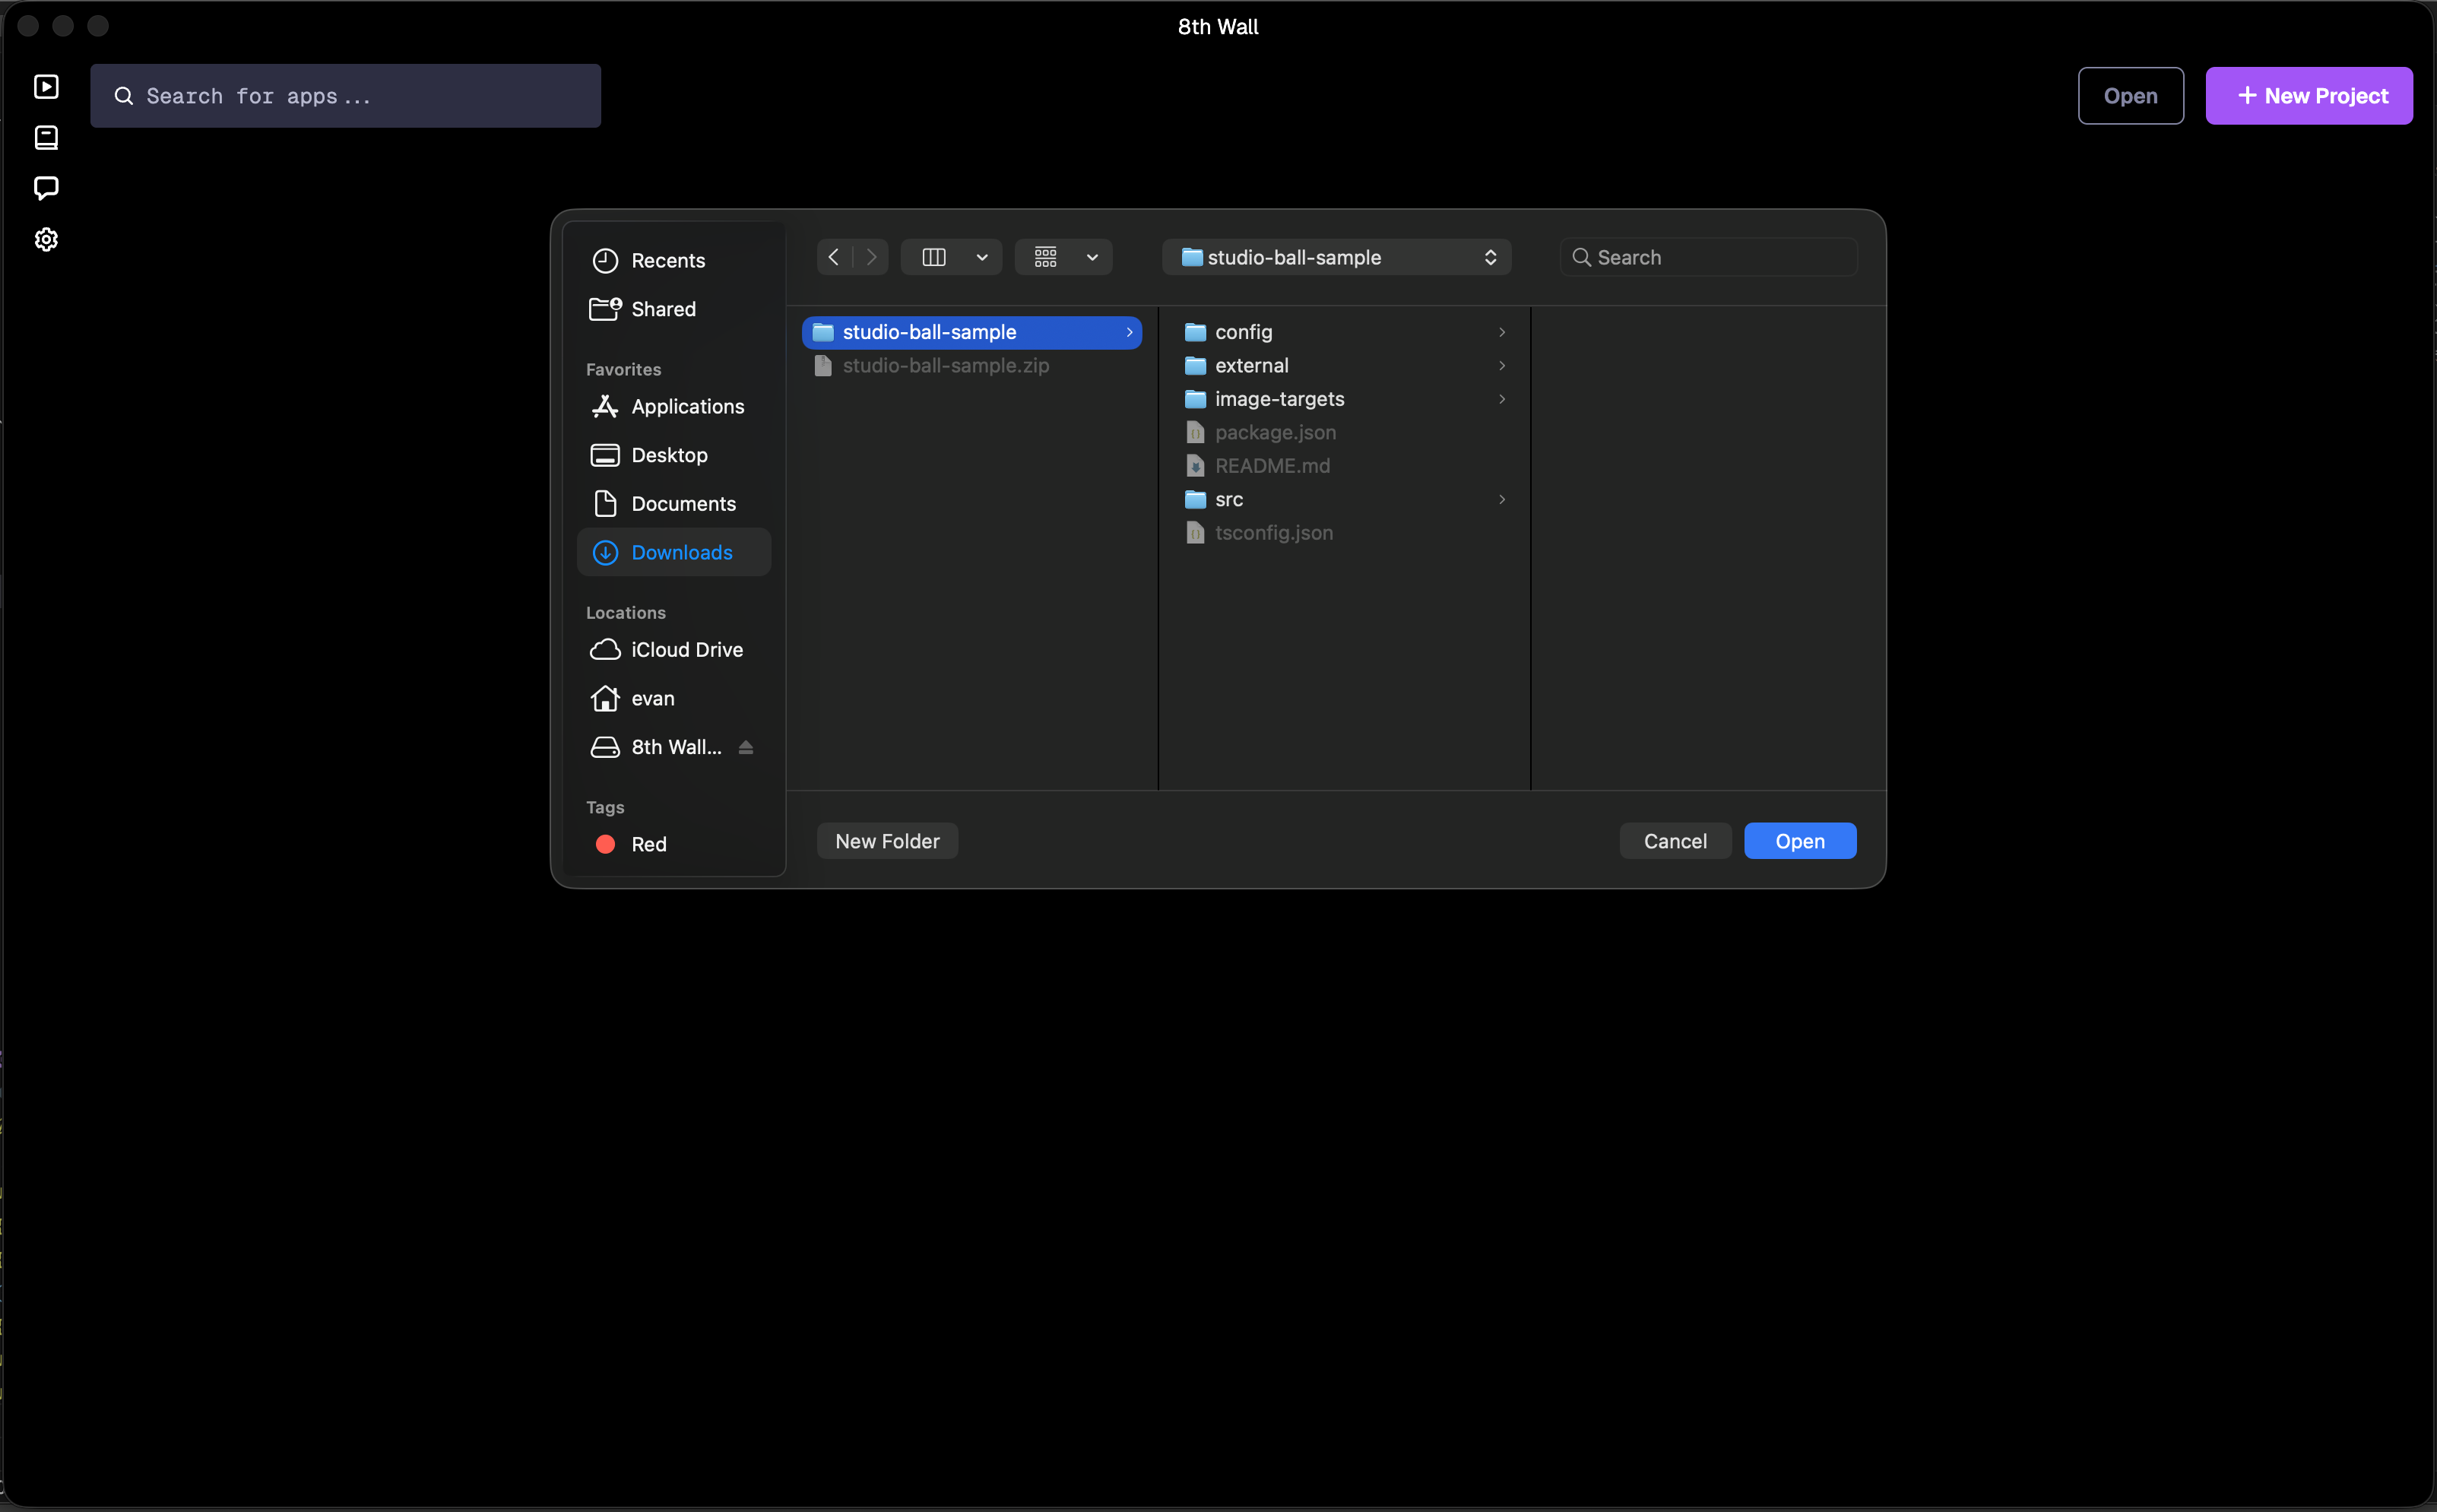
- Click Open in the Desktop App
- Select the root folder of the exported Studio project
If your project was previously opened in the Desktop App, simply select the root folder of the project.
Update Project (if needed)
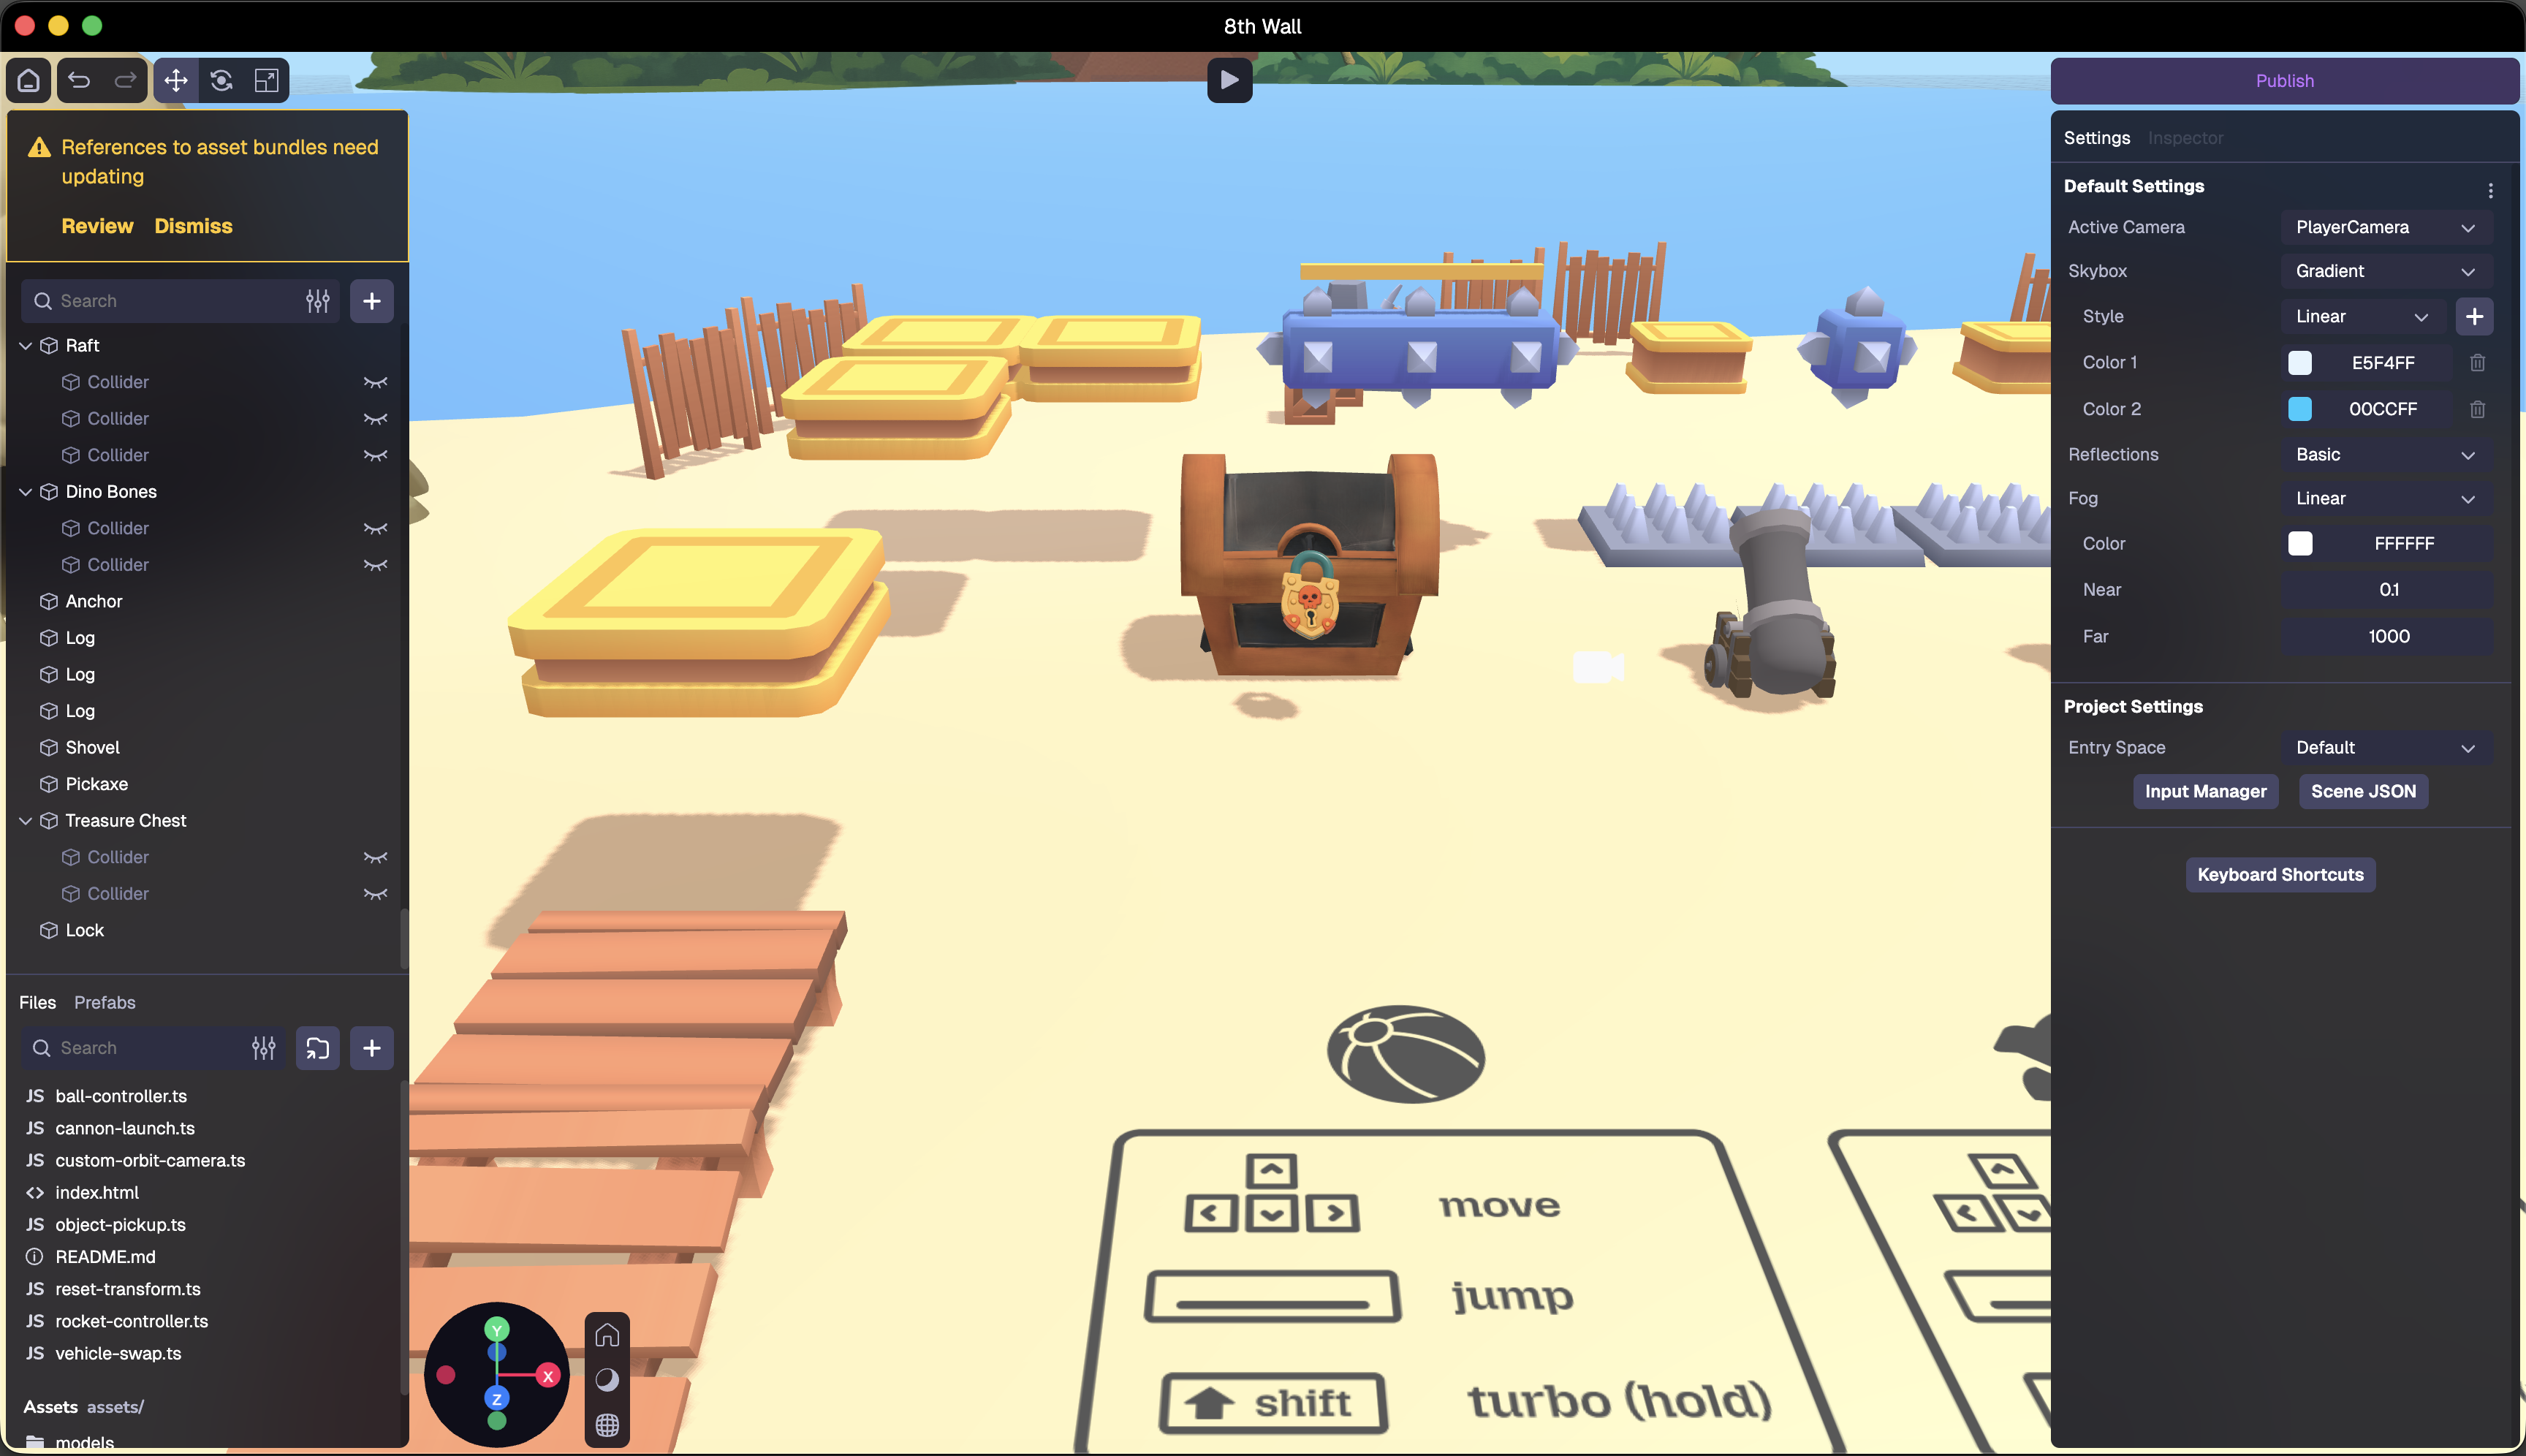
If your project used Asset Bundles, a warning may appear above the Scene Hierarchy.
Click Review to automatically update the project references for local development.
Continue Developing
Your Studio project is now fully migrated to an offline development workflow.
You can continue editing and testing locally. When ready, export a buildable version of your project to host anywhere on the web.
Test on Desktop
- If node/npm are not installed, install using https://github.com/nvm-sh/nvm or https://nodejs.org/en/download
cdto the project root and runnpm install.

- Run
npm run serveto run the development server. Once the local server is running, you will see the URL/IP addresses your project is running at.
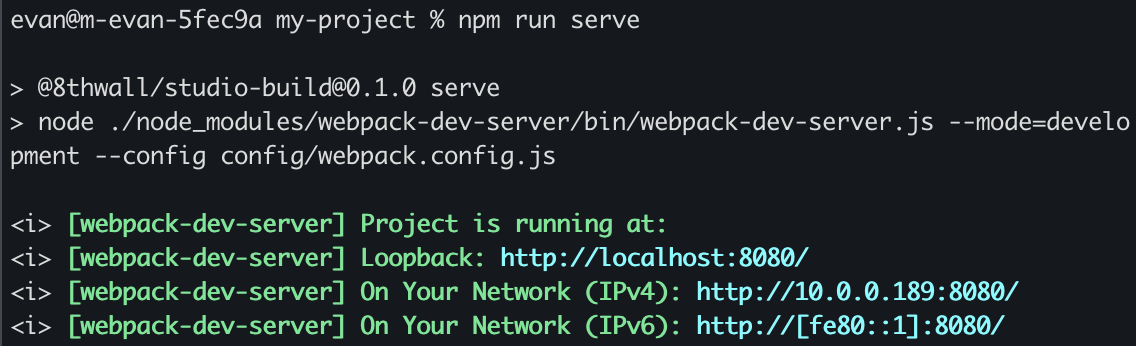
- Open a new browser window and paste in the loopback URL or IP address to test your project in development mode.

Test on Mobile
To test your project on mobile devices, especially for AR experiences that require camera access, you'll need to serve your development server over HTTPS. We recommend using ngrok to create a secure tunnel to your local server.
After setting up ngrok, add the following configuration to config/webpack.config.js under the devServer section:
devServer: {
  // ... existing config
  allowedHosts: ['.ngrok-free.dev']
}