3Dモデルの生成
3Dモデル(.glbフォーマット)を生成するには、まず入力として使用する画像または複数の画像を生成する必要があります。 3Dモデルは、単一画像また��はマルチビュー画像セットから生成されます。
このプロセスは、シーン全体ではなく、物体や建物のような個々の被写体に対して最も効果的である。
ステップ1:画像入力の生成
ドロップダウンメニューでモデルを選択します。
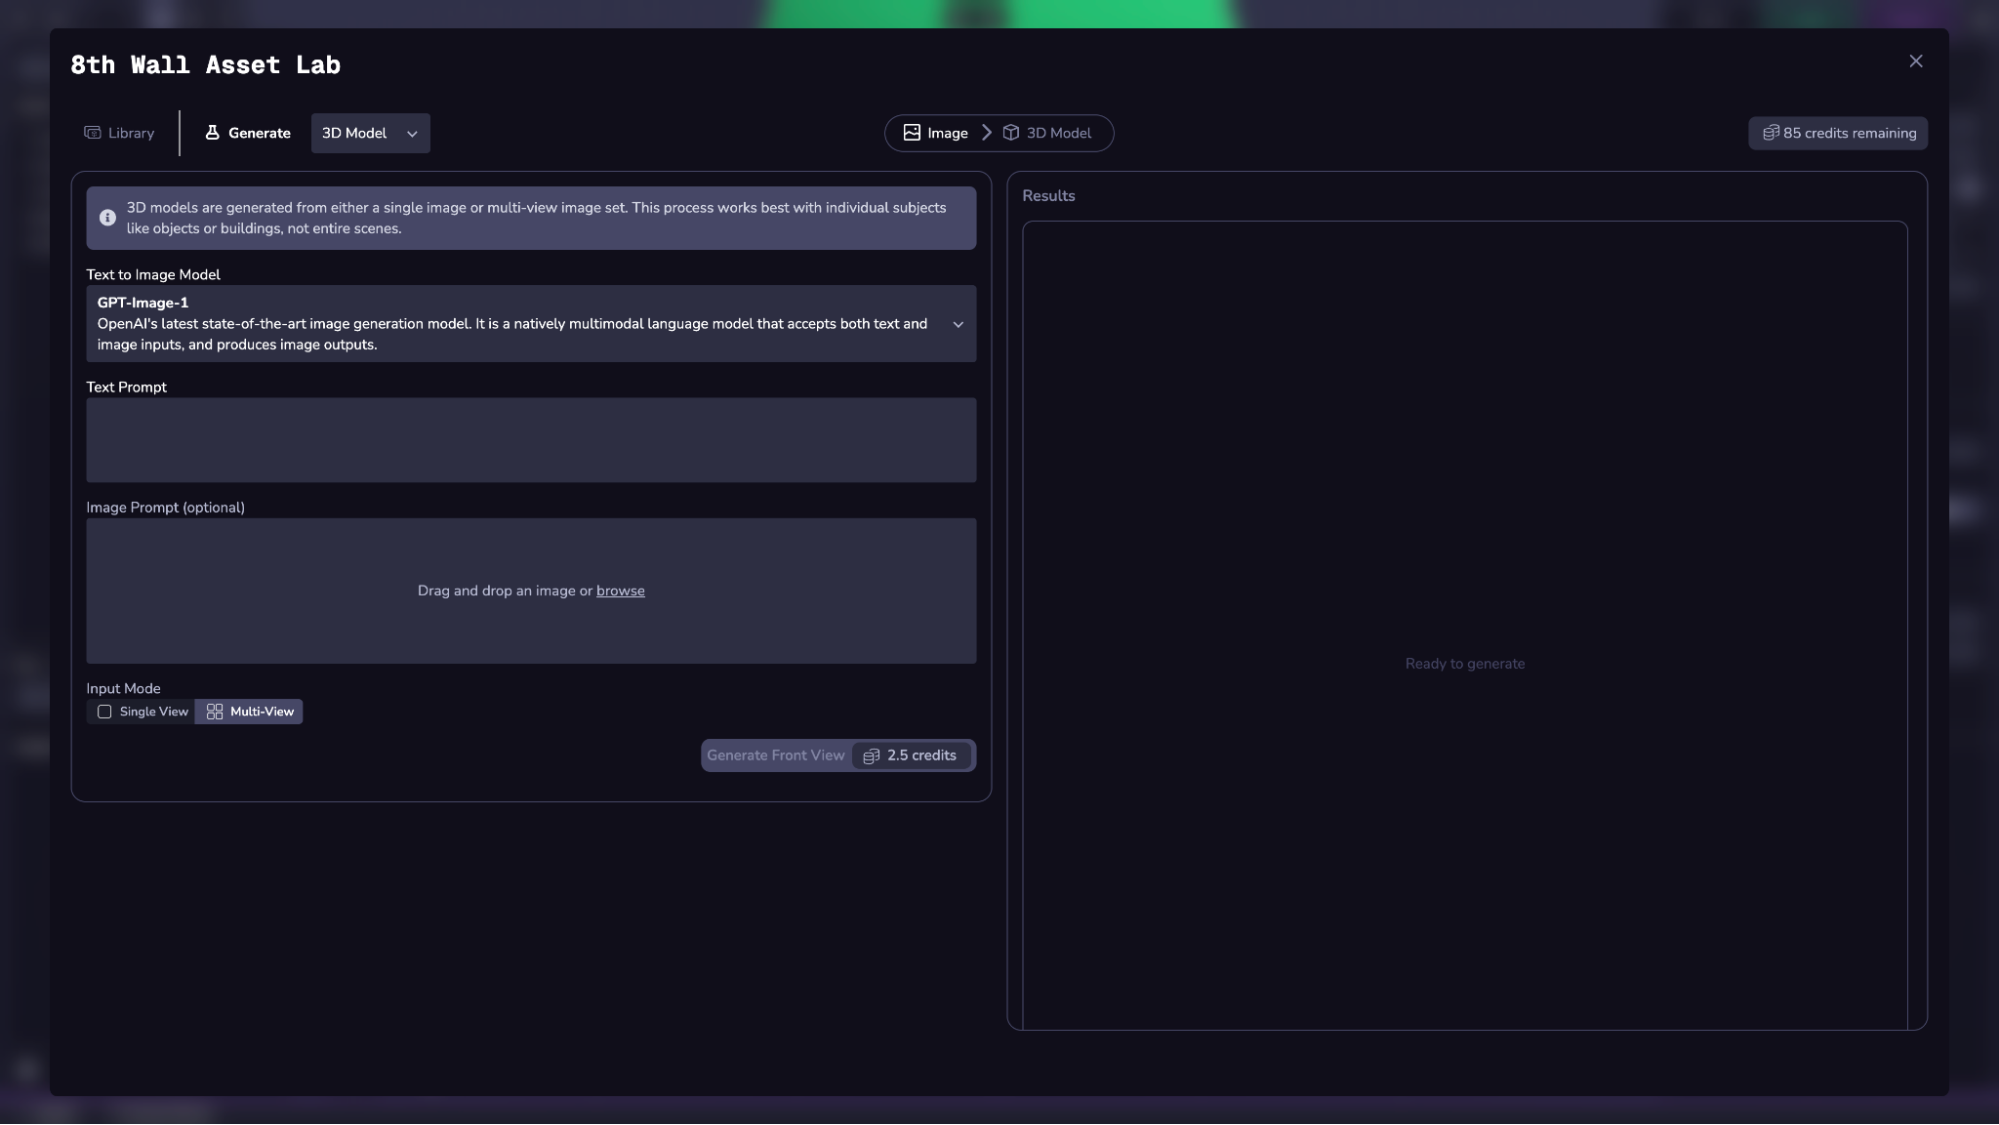
各モデルには異なる強みがあり、リクエストごとのクレジット価格も異なる(下部のGenerateボタンに表示される)。 価格一覧はクレジット価格のドキュメントをご覧ください。
どのモデルを選択して画像を生成するかによって、入力オプションが異なります。 利用可能なモデルと入力の詳細については、画像生成ワークフローを参照してください。
トグルを使用して、単一の画像(単純な対称オブジェクトに最適)またはマルチ画像セットの正面図(より複雑または非対称オブジェクトに最適)のいずれかを生成します。
Single Viewを選択すると、オブジェクトの3/4ビューの画像が1つ生成されます。
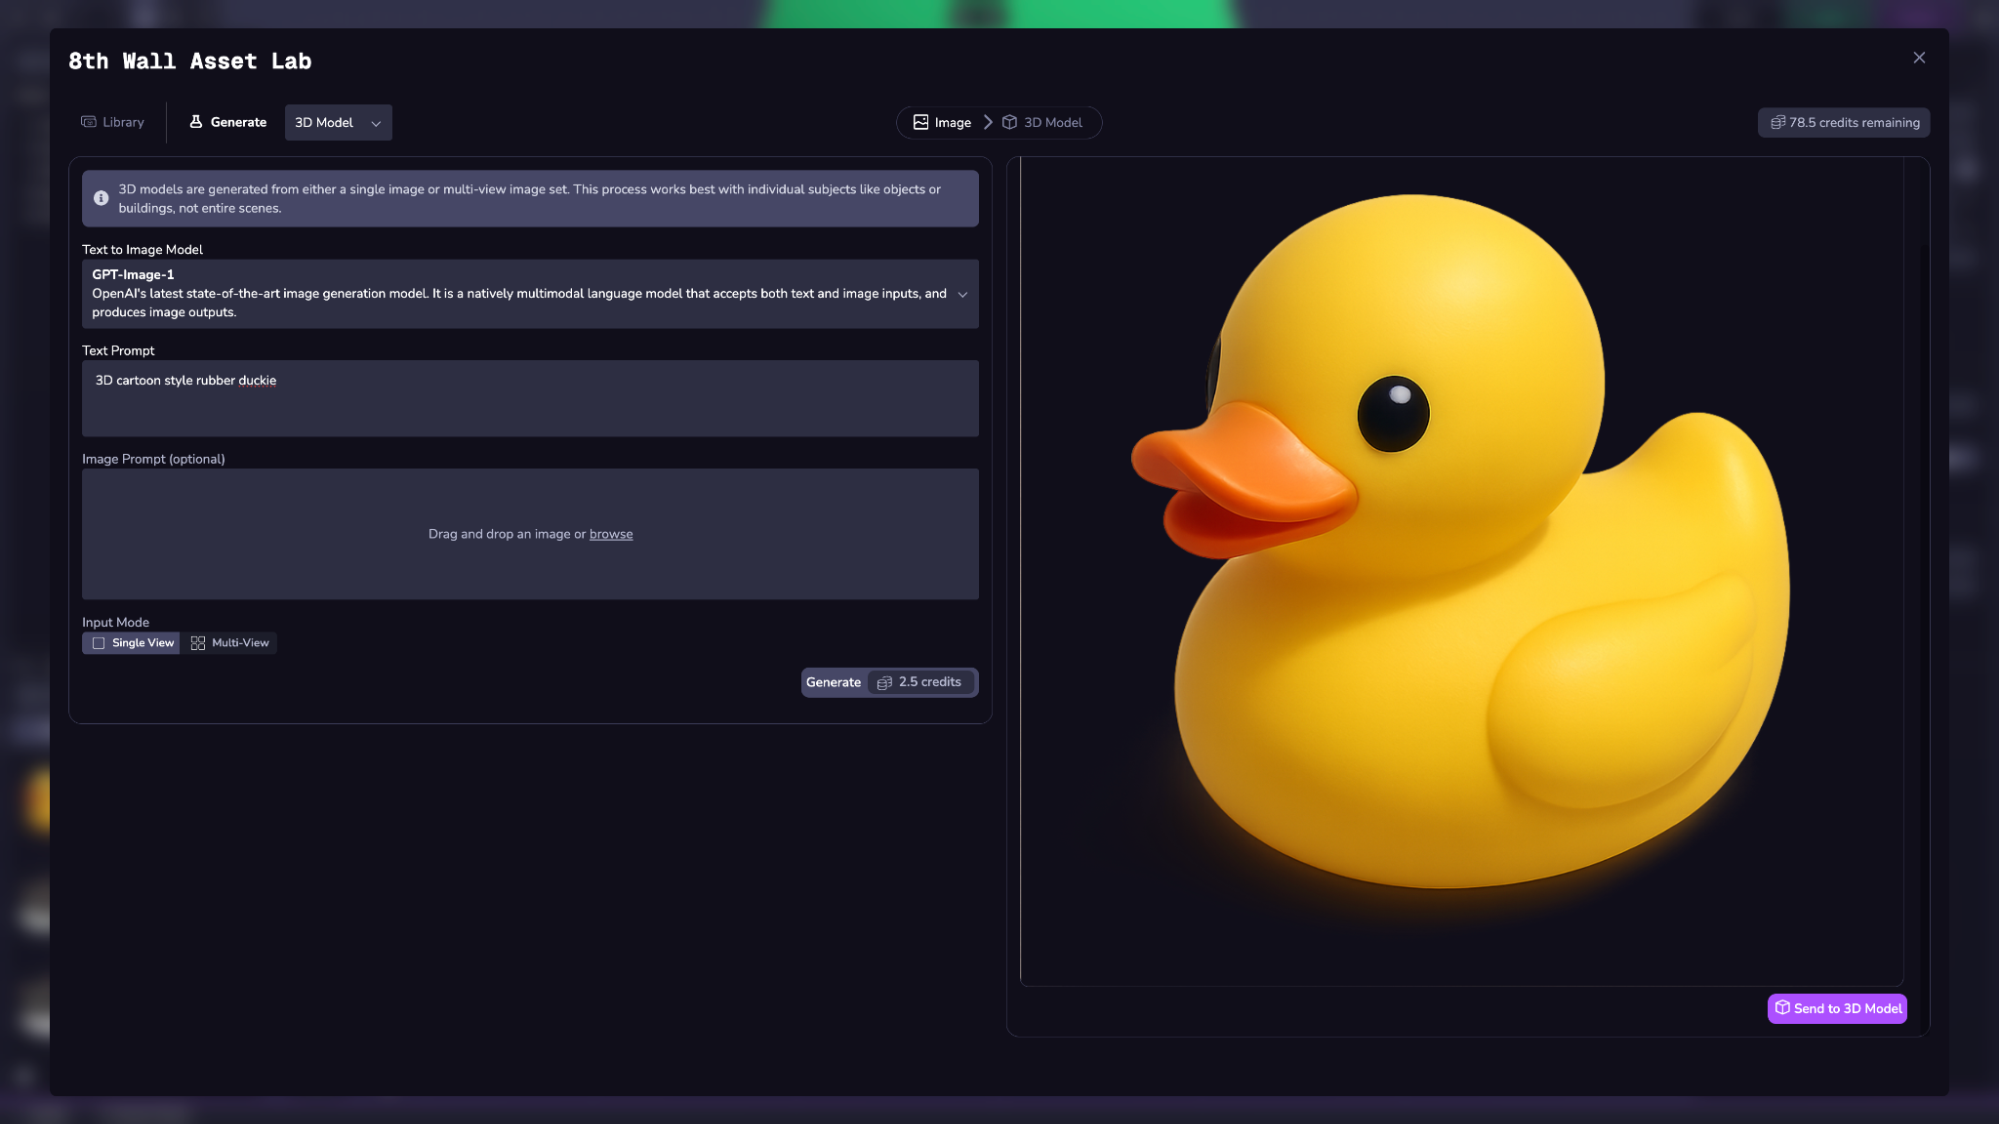
Multi-Viewを選択すると、まずオブジェクトの "正面 "のビューが生成されます。 結果に満足したら、Generate Multi-Viewボタンを使って、同じオブジェクトの "right"、"left"、"back "ビューを生成することができます。 このステップでは、GPT-image-1を使用する必要があります。
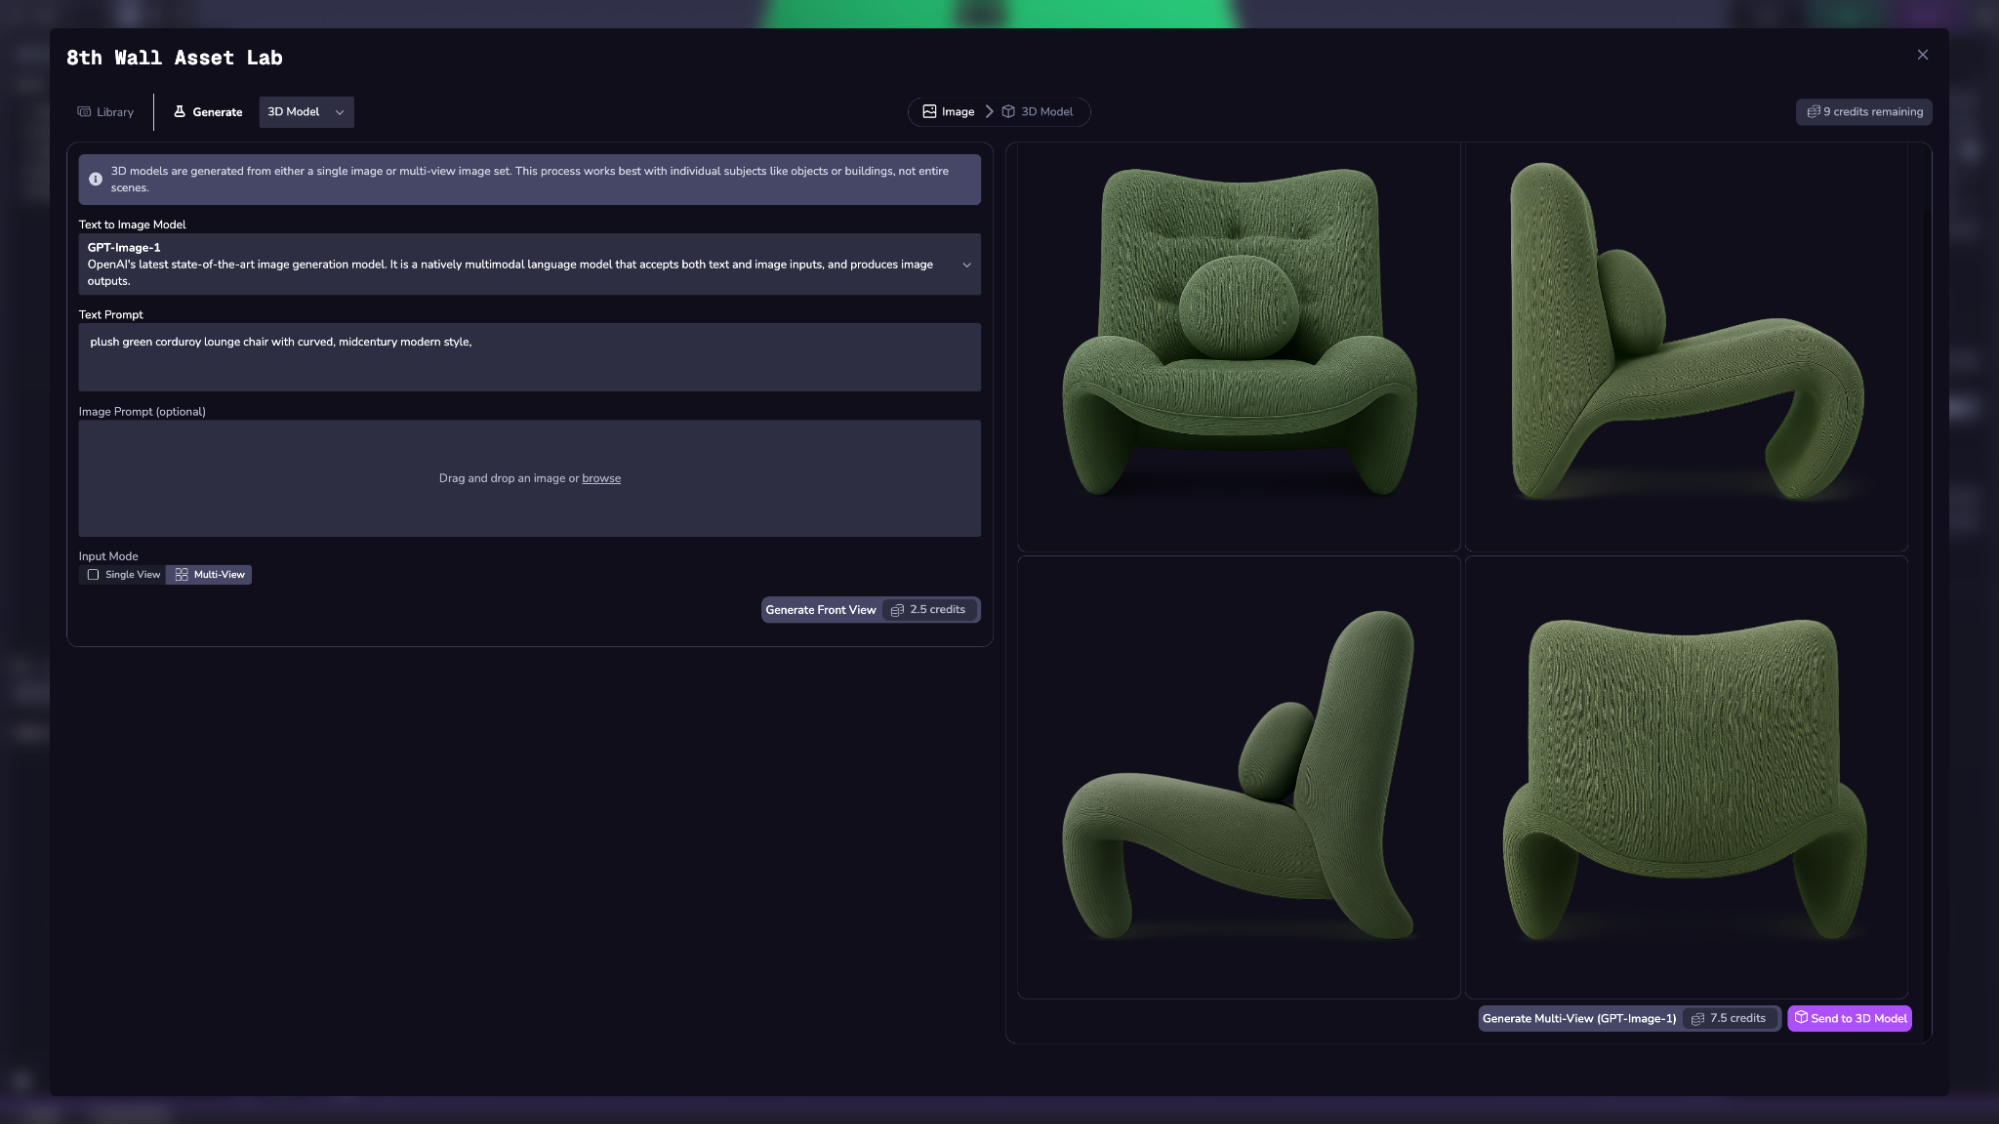
画像の入力が完了したら、右下の「3Dモデルに送信」ボタンをクリックして次のステップに進みます。
ステップ2:3Dモデルの生成
ご希望のモデルを選択し、必要に応じてパラメータを調整します。
対応モデル
Trellis
Microsoftによる高品質テクスチャメッシュ用の大規模モデル。
入力:
- シングルまたはマルチビュー画像
- 形状ガイダンス(0~10)
- 詳細ガイダンス(1~10)
- メッシュの簡素化 (0.9-0.98)
- テクスチャサイズ:512x512または1024x1024
Hunyuan 3D-2
テンセントの高解像度アセットジェネレーター。
入力:
- シングルまたはマルチビュー画像
- スピード(標準またはターボ)
- ガイダンス (0-20)
- 形状詳細 (1-1024)
Hunyuan 3D-2 Mini
Hunyuan 3D-2 の低リソースバージョン。
入力:
- シングルまたはマルチビュー画像
- スピード(標準またはタ��ーボ)
- ガイダンス (0-20)
- 形状詳細 (1-1024)
各モデルには異なる強みがあり、リクエストごとのクレジット価格も異なる(下部のGenerateボタンに表示される)。 価格一覧はクレジット価格のドキュメントをご覧ください。
"生成 "ボタンを選択して開始します。
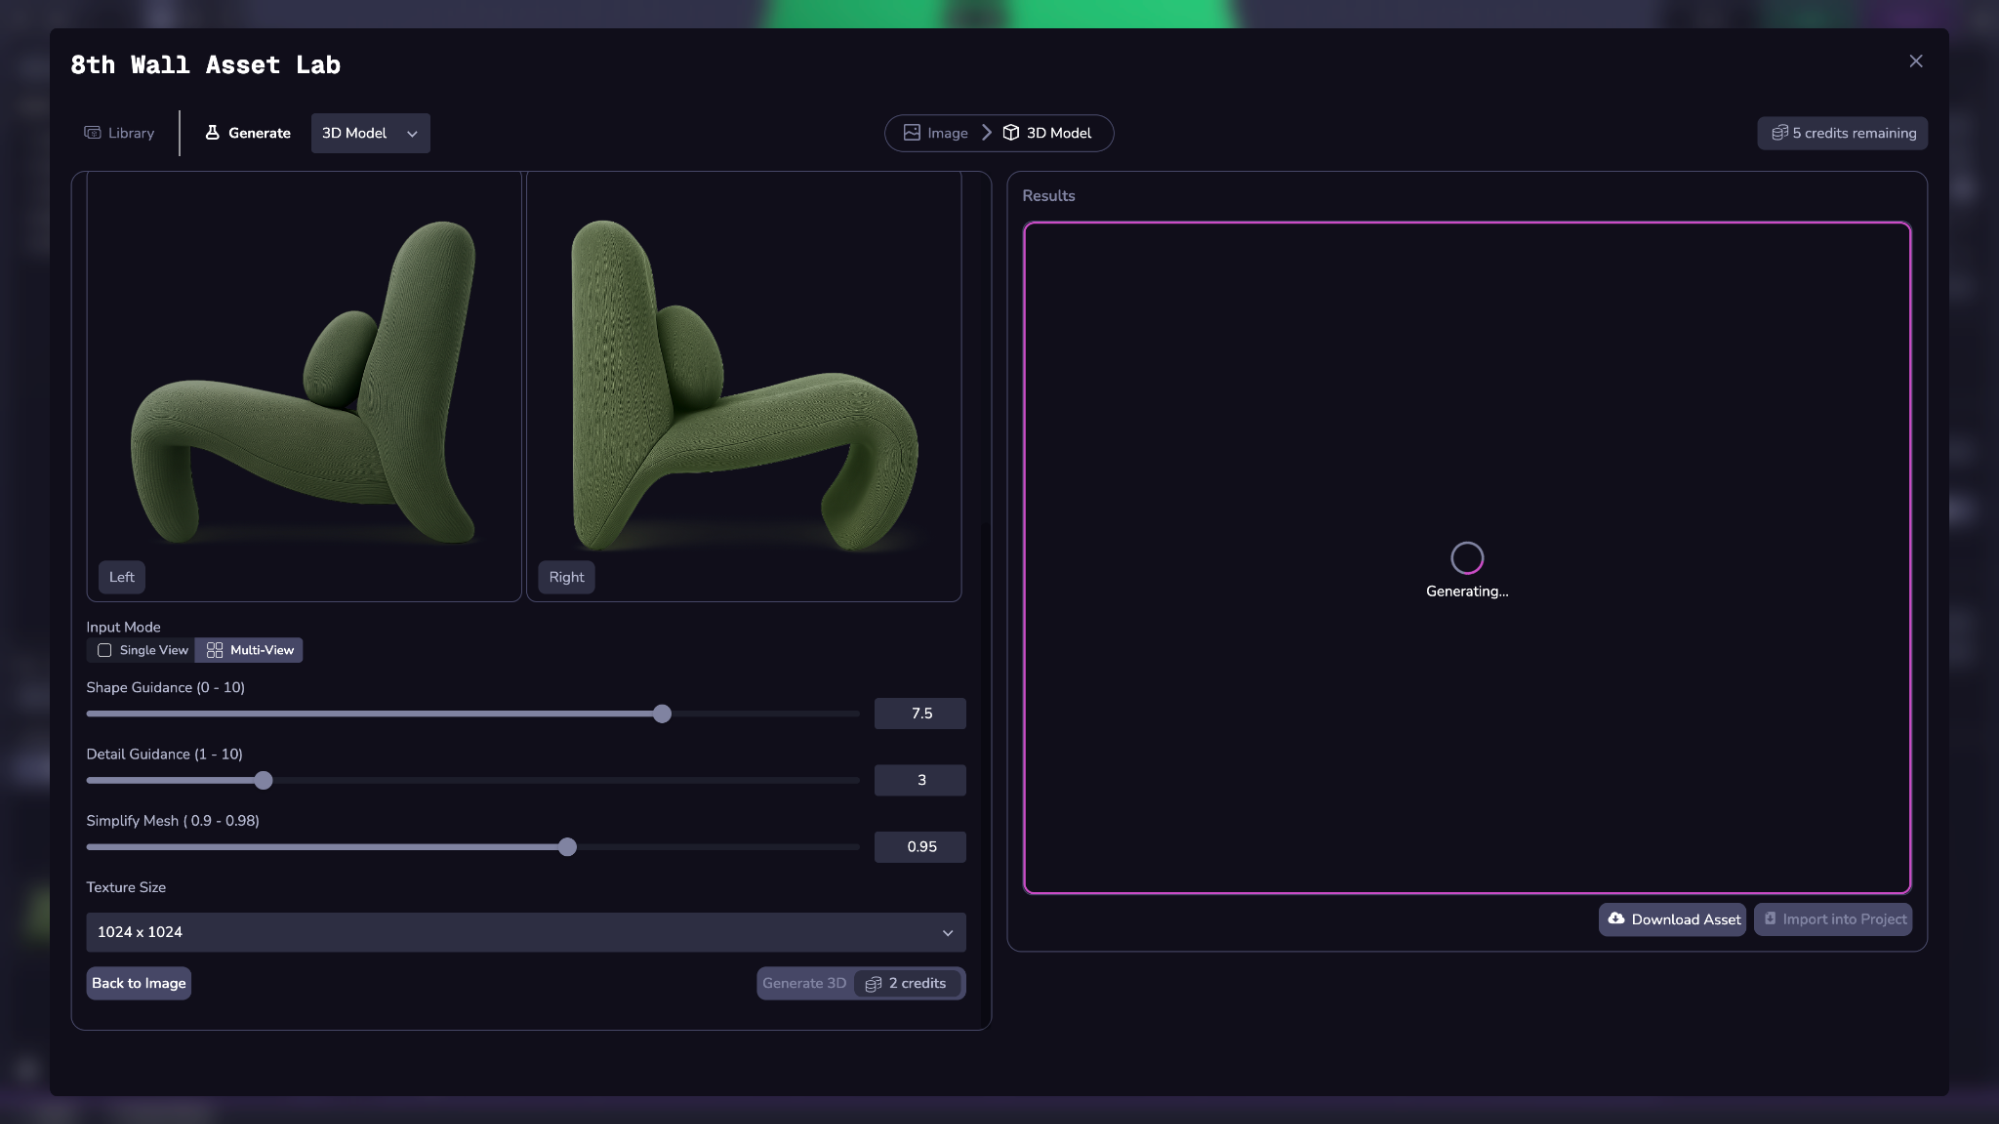
ステップ3:プロジェクトにインポートするか、ダウンロードする
3Dモデルをインポートまたはダウンロードするには、下部のボタンを使用します。
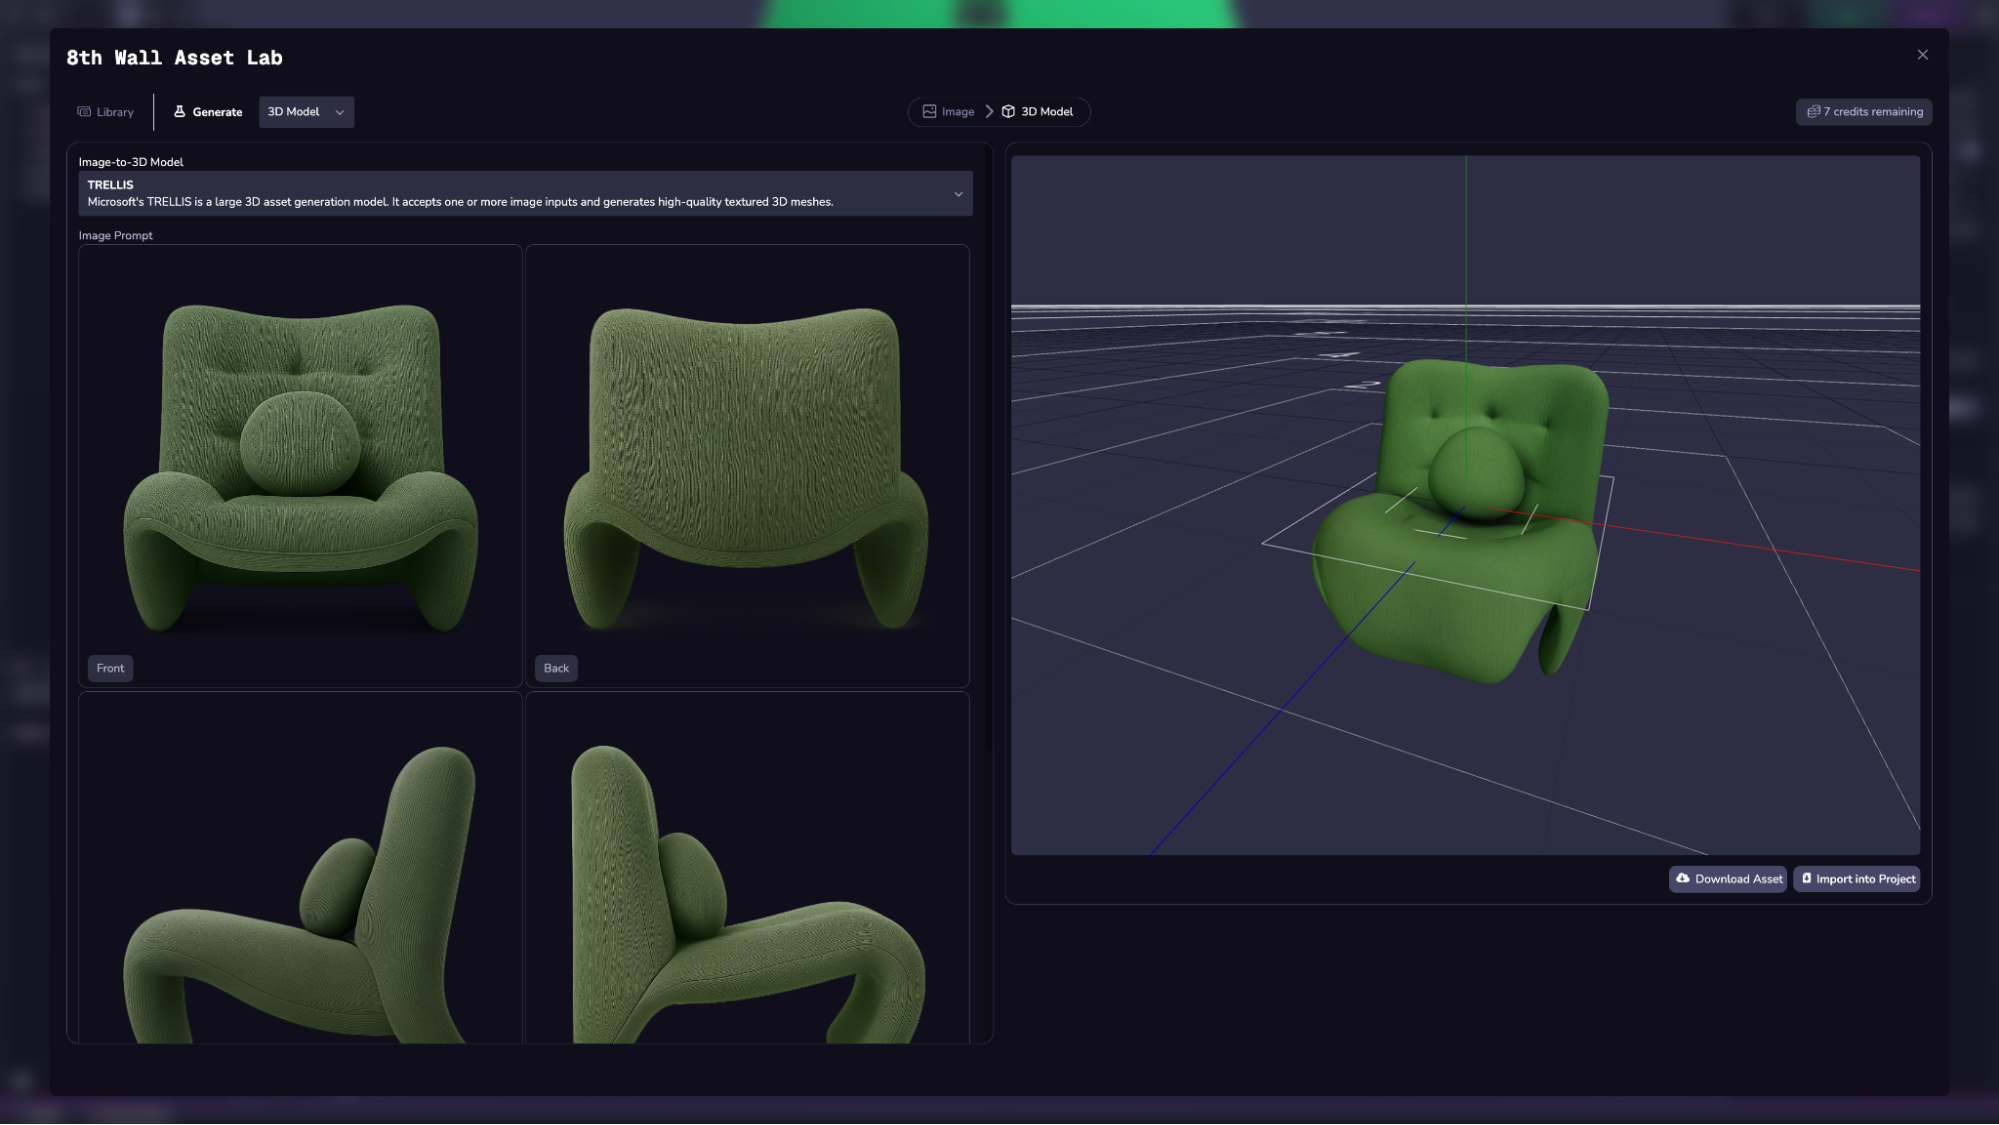
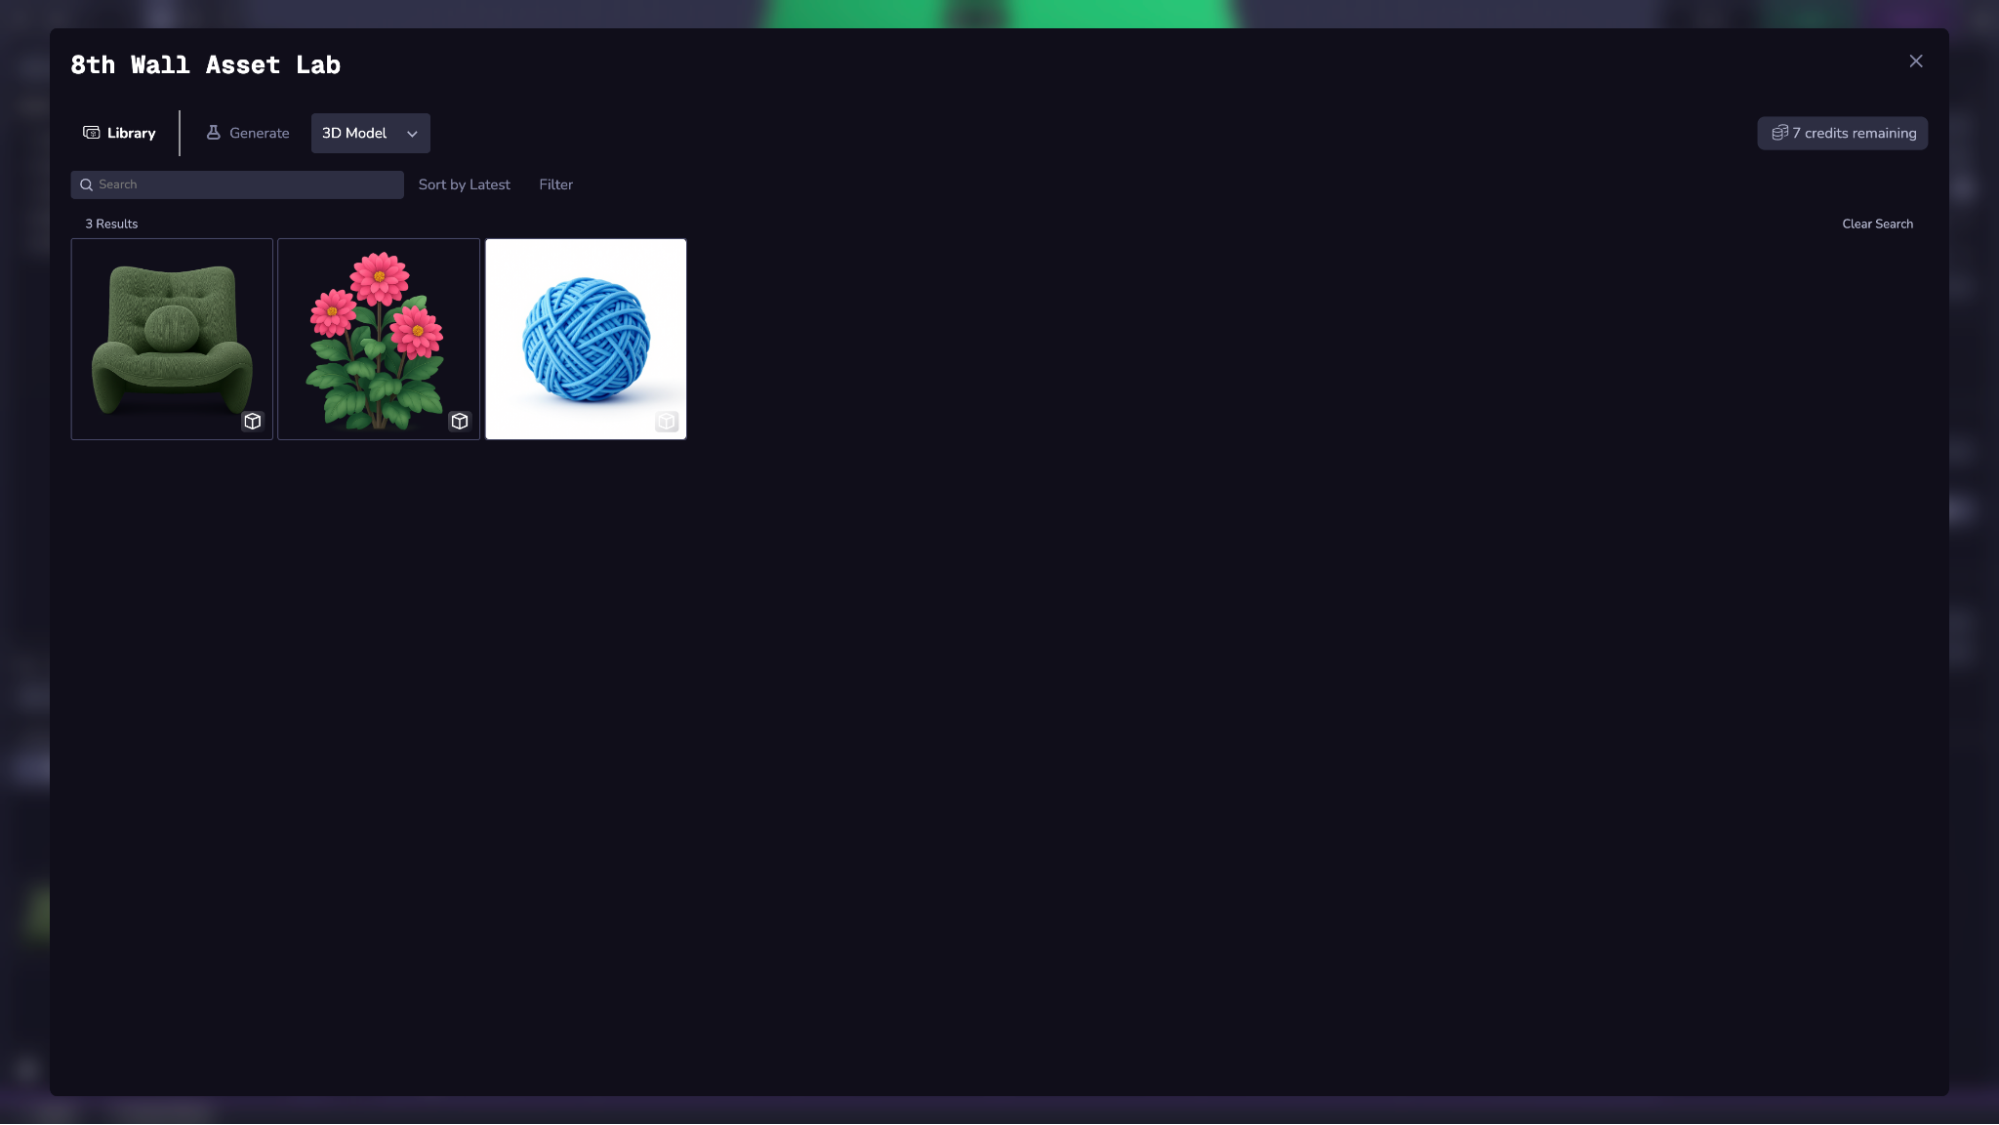
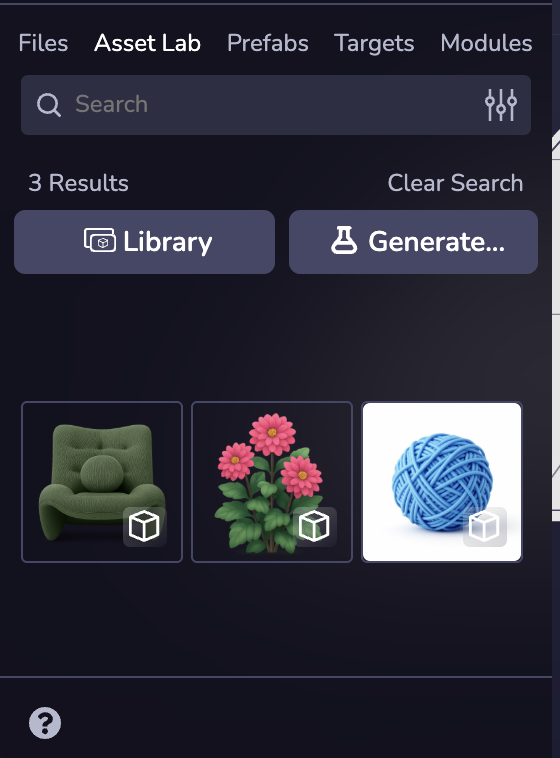
ワークスペースのユーザーから生成されたすべてのアセットには、フルスクリーンのAsset Labの左側のタブ、またはStudioの左側のサイドパネルタブにあるLibraryからアクセスできます。 3Dモデルのみを表示するには、フィルターオプションを使用します。